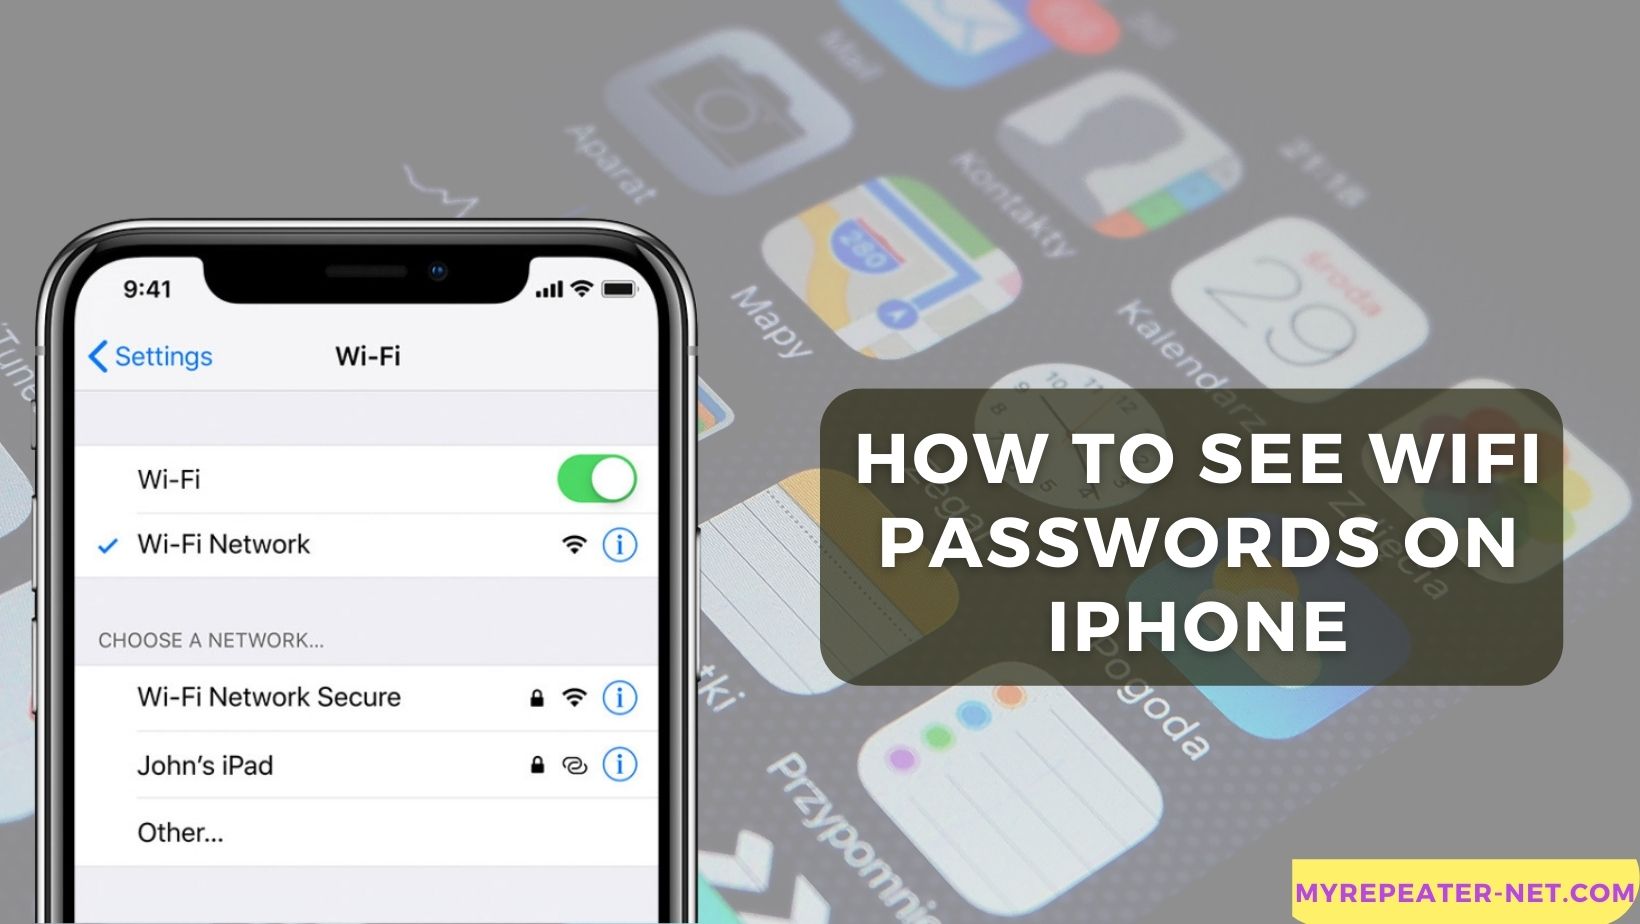
Read more about the article What is Mywifiext.net?
What is mywifiext.net

What is Mywifiext.net?

If you're someone who has set up a Netgear Wi-Fi range extender, you might have come across the term "mywifiext.net." This is a website that is used to configure your Netgear extender and access its settings. In this article, we'll take a closer look at what mywifiext.net is, how it works, and how you can use it to set up your Netgear extender. Understanding the Basics of mywifiext.net Mywifiext.net is a web-based portal that is used to set up and configure Netgear Wi-Fi range extenders. When you connect your Netgear extender to your computer or mobile device, you can access the mywifiext.net website to configure your device and customize its settings. The website is designed to be user-friendly and easy to navigate, even for those who aren't tech-savvy. It provides step-by-step instructions on how to set up your extender, troubleshoot common issues, and optimize your network for better performance. Setting Up Your Netgear Extender with mywifiext.net To set up your Netgear extender using mywifiext.net, you first need to connect your device to your computer or mobile device using a wired or wireless connection. Once you're connected, open up your web browser and enter "mywifiext.net" or 192.168.1.250 (Default IP Address for Netgear Extender )nto the address bar. This will take you to the mywifiext.net website, where you'll be prompted to enter your username and password. If…

Continue ReadingWhat is Mywifiext.net?
Read more about the article A Comprehensive Guide to Netgear EX2700 Extender Setup: Boost Your Wi-Fi Signals
Netgear EX2700 Setup

A Comprehensive Guide to Netgear EX2700 Extender Setup: Boost Your Wi-Fi Signals

In today's world, an uninterrupted and stable Wi-Fi connection has become a necessity. With more people working from home and online classes becoming the norm, weak signals or dead zones can be frustrating. Fortunately, Netgear has come up with the EX2700 Extender that boosts Wi-Fi signals and coverage. In this article, we will provide you with a complete guide on how to setup your Netgear EX2700 Extender for better connectivity. Benefits of Netgear EX2700 Extender- Before diving into the setup process, let's look at some of the benefits of using the Netgear EX2700 Extender. Easy to install and configure Boosts Wi-Fi signals and coverage Improves internet speeds and stability Cost-effective solution to weak signals or dead zones Compatible with most routers and internet service providers Netgear EX2700 Extender Setup: Step-by-Step Guide Now that we know the benefits, let's get into the setup process. Follow the steps below to set up your Netgear EX2700 Extender. Step 1: Unbox the Extender- Unpack your Netgear EX2700 Extender and ensure that it includes the following components: EX2700 Extender Power adapter Ethernet cable Quick Start Guide Step 2: Find a Suitable Location- Locate a suitable location for your Netgear EX2700 Extender. It should be within the range of your router and free from obstructions that may interfere with signals. Step 3: Connect the Extender- Connect the Netgear EX2700 Extender to…

Continue ReadingA Comprehensive Guide to Netgear EX2700 Extender Setup: Boost Your Wi-Fi Signals
Read more about the article Complete guide- How to Setup D-link DIR-825 Router?
Setup d-link dir-825

Complete guide- How to Setup D-link DIR-825 Router?

Setting up a D-Link DIR-825 router can seem daunting, but with the right guidance, it can be a straightforward process. In this guide, we will walk you through the steps to set up a D-Link DIR-825 router. Whether you are a novice or an experienced user, our step-by-step instructions will make the process of Setup d-link dir-825 router quick and easy. So, let's get started! Below is the Step-by-Step guide for Setting up D-Link DIR-825 router- Step 1: Connect the router to power and the modem. The first step in setting up the router is to connect it to power and the modem. Connect the router to a power outlet using the supplied power adapter. Then, connect the WAN port of the router to the modem using an Ethernet cable. Ensure that the modem is turned on and has an active internet connection. Step 2: Connect to the router's wireless network. Once the router is powered on and connected to the modem, use a wireless device such as a laptop, tablet, or smartphone to connect to the router's wireless network. The wireless network name and password are printed on the label on the bottom of the router. Step 3: Open the router's web interface. Open a web browser on your wireless device and type the router's IP address in the address bar. The default IP…

Continue ReadingComplete guide- How to Setup D-link DIR-825 Router?
Read more about the article How to Setup Nextbox WiFi Extender? Learn how to RESET, Firmware update your Nextbox Extender.
How to Setup Nextbox WiFi Extender

How to Setup Nextbox WiFi Extender? Learn how to RESET, Firmware update your Nextbox Extender.

If you're struggling to boost your WiFi signal strength or extend your wireless range, a Nextbox WiFi extender can help. Setting up your Nextbox WiFi extender may seem like a daunting task, but with our step-by-step guide, the process is simple and straightforward. In this article, we'll take you through the process of Setup Nextbox WiFi Extender from connecting it to your router to configuring it. Additionally, we'll also cover how to reset your extender and update its firmware, ensuring optimal performance and security. With our comprehensive guide, you'll be able to set up, reset, and update your Nextbox WiFi extender with ease and improve your internet experience. To set up a Nextbox WiFi extender, please follow the below steps: Place the extender near your router: The first step in setting up your Nextbox WiFi extender is to place it near your router. This ensures that the extender can receive a strong wireless signal from your router. Connect the extender to a power source: Next, connect the extender to a power source. Use the power cable that came with the extender to connect it to an electrical outlet. Connect your device to the extender: Once the extender is powered on, connect your device to it. You can do this by going to the Wi-Fi settings on your device and selecting the network name of the…

Continue ReadingHow to Setup Nextbox WiFi Extender? Learn how to RESET, Firmware update your Nextbox Extender.
Read more about the article How to Setup Router using 192.168.1.188 IP?
How to Setup Router using 192.168.1.188 IP

How to Setup Router using 192.168.1.188 IP?

To set up a router using the 192.168.1.188 IP address, you can follow the steps below: Connect your computer or laptop to the router using an Ethernet cable or Wi-Fi network. Open a web browser and type "http://192.168.1.188" in the address bar. Hit enter. You will be prompted to enter your router's username and password. Enter the credentials, which are typically "admin" for both username and password unless you have changed it. Once you are logged in, you will see the router's management interface. From there, you can configure your router's settings according to your needs, such as setting up a Wi-Fi network, changing the SSID and password, configuring security settings, and more. After configuring the settings, make sure to save the changes. Finally, you can disconnect the Ethernet cable, and your router is ready to use. Note: If you are unable to connect to your router using the IP address 192.168.1.188, you can try resetting the router to its default factory settings by pressing and holding the reset button for about 10-15 seconds. After that, you can try to connect to the router again using the default IP address and login credentials. How to Setup 5G on router using 192.168.1.188 To set up 5G on your router using 192.168.1.188, you can follow the steps below: Connect your device (e.g., laptop, smartphone, etc.) to your…

Continue ReadingHow to Setup Router using 192.168.1.188 IP?
Read more about the article How to Set up Pix-link Repeater? Complete Guide for Login RESET and Firmware update.
How to Set up Pix-link Repeater

How to Set up Pix-link Repeater? Complete Guide for Login RESET and Firmware update.

A wireless repeater, also known as a range extender, is a device that is used to extend the range of a wireless network. The Pix-link repeater is a popular range extender that can help you improve the coverage and signal strength of your existing Wi-Fi network. In this article, we will provide you with a step-by-step guide on how to set up a Pix-link repeater. Time needed: 5 minutes. Step-by-Step Guide for Set up Pix-link Repeater: Step 1: Unbox the Pix-link repeater and connect it to a power source. Wait for the device to turn on. Step 2: On your computer or mobile device, go to the Wi-Fi settings and look for the Wi-Fi network named "Pix-link". Connect to this network. Step 3: Open a web browser on your device and enter the default IP address of the Pix-link repeater (192.168.10.1) in the address bar. Press Enter. Step 4: You will be directed to the login page where you need to enter the default username and password. The default username and password are both "admin". Step 5: Once you have logged in, you will see the main dashboard of the Pix-link repeater. From here, you can configure your wireless settings, network settings, and security settings. Step 6: Click on the "Wireless" tab and then click on "Wireless Repeater" in the left menu. Step 7: Select the…

Continue ReadingHow to Set up Pix-link Repeater? Complete Guide for Login RESET and Firmware update.
Read more about the article How do I use the correct username to log in wireless-n WiFi repeater?
log in wireless-N WiFi repeater

How do I use the correct username to log in wireless-n WiFi repeater?

To log in wireless-N WIFI repeater, you typically need to follow these steps: Connect your computer or mobile device to the wireless network of the repeater. You can usually do this by selecting the repeater's network from the list of available networks on your device and entering the password, if prompted. Open a web browser and type the IP address of the repeater into the address bar. The default IP address for most wireless-N WiFi repeaters is usually 192.168.10.1 or 192.168.1.1. If these don't work, you can check the documentation that came with the device or do a quick online search for the default IP address. When the login page appears, enter the default username and password for the repeater. These are usually listed in the device's manual or on a sticker on the bottom of the device. If you've changed the default credentials in the past, use the new ones instead. Once you've logged in, you should be able to configure the settings of the repeater, such as the SSID, password, and network mode. If you're having trouble logging in, you can try resetting the repeater to its default settings by pressing and holding the reset button on the device for 10-15 seconds. This should restore the default username and password as well. How to Access the admin page of wireless-N WIFI repeater using…

Continue ReadingHow do I use the correct username to log in wireless-n WiFi repeater?

No more posts to load