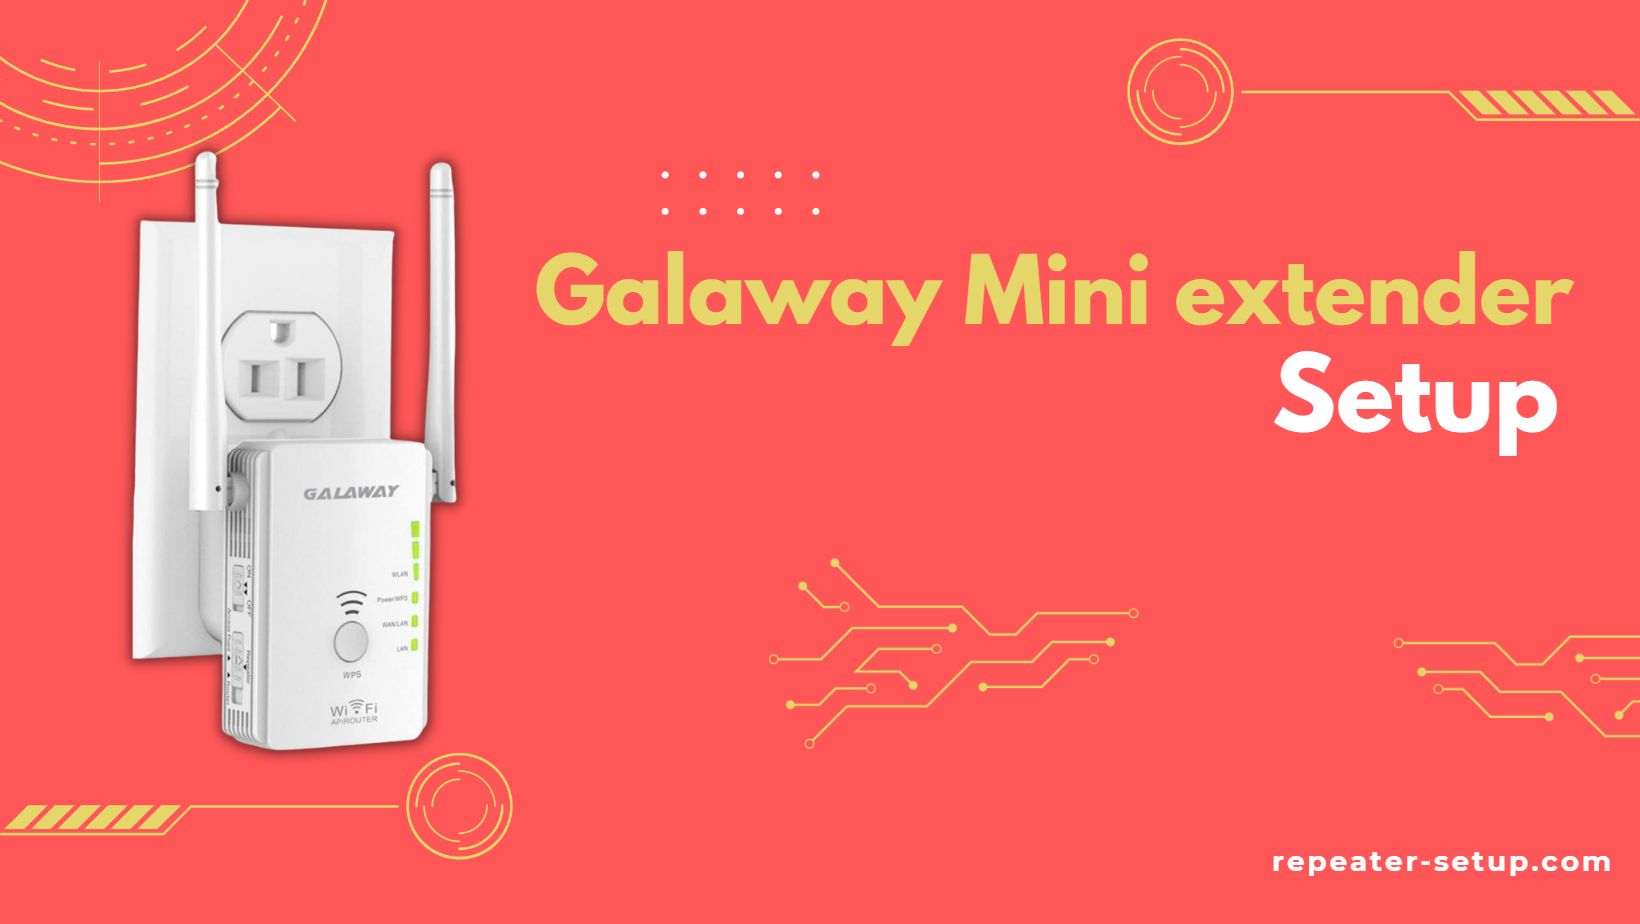
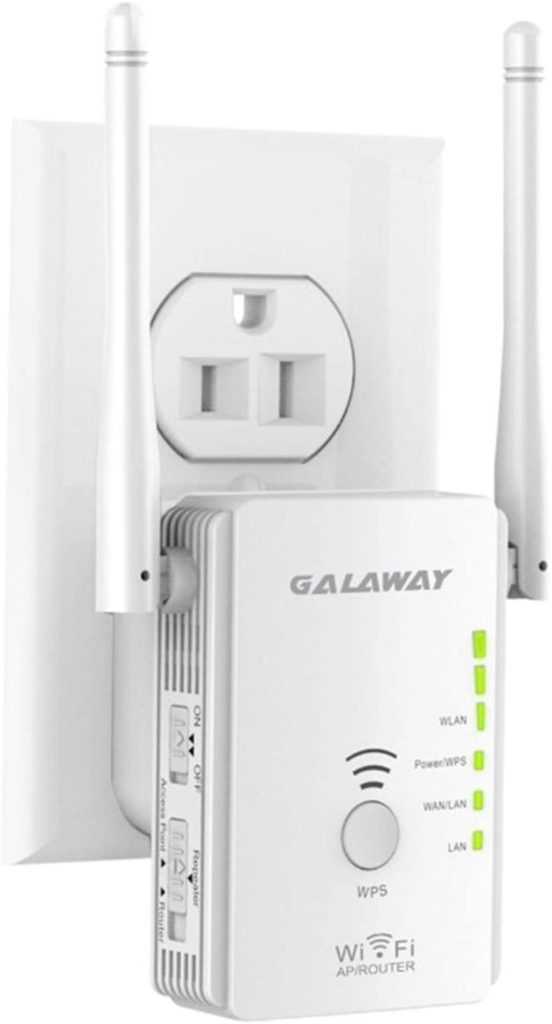
In this article we’ll study about Galaway Mini extender setup. Galaway Mini extender gives you with Wi-Fi speed up to 300mbps. Galaway extender has its two antennas; external antennas help in changing the Wi-Fi dynamics of your home Wi-Fi. External antennas help to infiltrate deep into your house or office. You’ll effortlessly configure Galaway extender to any of your working router because it supports general compatibility. Most particular feature during this extender, it supports three different modes namely; extender/repeater, router and access point.
Let’s begin with the Galaway 2.4 GHz extender setup.
There are three ways to setup Galaway Mini extender Setup:
- Browser
- WPS
- Access Point
Galaway 2.4GHz in repeater mode via browser
- Firstly, confirm to toggle the mode switch towards “repeater”. Plug the repeater within the same room as your router or they will be 5-10 feet apart also. This increases their chances of getting faster.
- After that hold on for moments until the power LED on repeater turns to solid green. Now acquire any of your wireless devices like laptop/cell-phones and connect with Galaway Repeater default network i.e. galaway_2.4GHz or Galaway_5GHz.
- For the first time connecting the network it will not ask any password. Once it’s get connected might show you “no internet available” under the Galaway extender network name.
- Now launch a browser in your (chrome, Firefox, safari, etc.) and enter ap.setup or 192.168.10.1 for Galaway mini extender setup.
- Once you done you will see the login page, in username and password type “admin”, all in lower case.
- Now, on the setup page select the Galaway wizard option and choose the mode as repeater mode.
- Then it will scan all available networks at your place; select one of them you want to expand. Also, when asked to type the password for the same network.
- Once you through with all the settings, Galaway 2.4GHz repeater will reboot and you’ll be ready to connect your laptop, computer, smartphones, smart TV, etc. with the newly created extended network.
- For better result locate the extender far from the large appliances which can cause interference with the repeater’s signals.
- Also after setup the default name of the extender will be SSID_EXT (here SSID is your network name).
Galaway Mini extender via WPS
- Firstly, plug in the repeater into power in the same room where your router is placed. Place the Galaway extender within 20 feet of your router.
- For Galaway mini extender setup, hold on until the power/WPS light turn solid green. When it gets stable only then we will start the WPS setup.
- Then press the WPS button located at the front of repeater, hold it for around 2 seconds. Within 120 seconds press and hold the WPS on your router also for around 2 seconds.
- Now you will see WPS blinking light on the repeater and the router. It hardly takes around 10-15 seconds for the devices to get connected.
- Once the connection is successfully done, then WPS LED on the repeater will address solid green and you’ll see it arising as SSID_EXT in your Wi-Fi list. Here SSID is your main router’s Wi-Fi network name. So, for instance, if your network name is Smithwifi then your extender after setup will show up as SmithWiFi_EXT.
- Now you can unplug the extender and locate it accordingly between router and the place where you find dead zones. You don’t have to configure it again.
Setup Galaway 2 external antenna repeater as Access Point
Access point setup means you would like to attach an ethernet cable between your router’s LAN port to LAN port on Galaway mini range extender. Access point setup on Galaway repeater will offer you much better speed than its setup as a repeater. This is often reason Wi-Fi signals are carried through an Ethernet cable and transmitted to the place where wife repeater is plugged in.
Let’s start the Galaway access point setup:
- Firstly, connect an Ethernet cable between your router and therefore the Galaway Access Point. Now, toogle the switch to Access point mode.
- Then, connect with galaway_2.4 GHz or galaway_5GHz network names appearing in Wi-Fi list. Now click on the Wi-Fi icon on rock bottom right corner, on MAC click on the Wi-Fi icon on the highest right corner, or on your phones attend setting then to Wi-Fi and there you’ll see Galaway network names.
- Now choose the network names to urge connected, it won’t raise the password. Also, it’ll come up as unsecured network and can see the web might not be available.
- Now launch a browser and in the address bar enter ap.setup or 192.168.10.1. You will see the Galaway setup wizard.
- Then on login page enter the credentials username and password as ‘Amin’. Use lower case.
- Now choose wizard option and then select the mode as access point mode.
- Then you will have to select the correct security type. So create an SSID and password for your Access Point.
- Once you done with applying all setting device will be rebooted automatically and you will be able to connect your phones, TV, Alexa, etc.
You are successfully done connecting Galaway extender as Access Point.