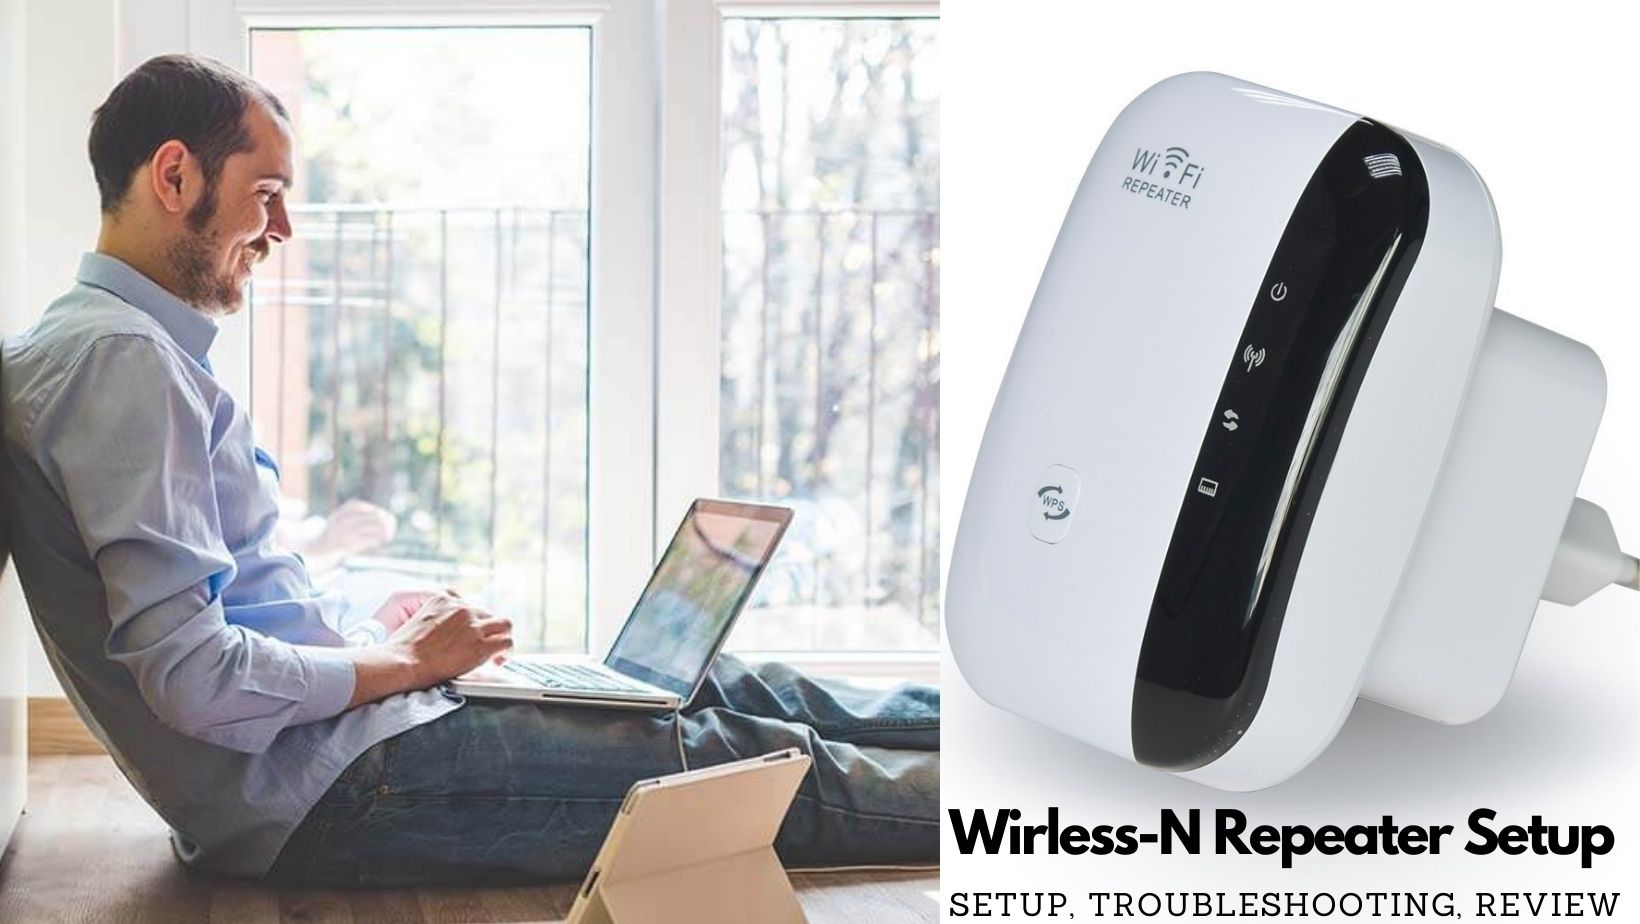
A proper WIRELESS‑N repeater setup comes down to three things: connecting to the repeater’s own WiFi first, logging into its setup page at 192.168.10.1 or myrepeater.net, and entering your main WiFi password without a single typo. Most “it doesn’t work” complaints trace back to being on the wrong SSID, using the wrong IP, or typing the router password slightly wrong.
These Wireless‑N bricks are all basically the same OEM device with different branding, so once you know the pattern, you can set up almost any of them in under 10 minutes.
WIRELESS‑N Repeater Setup via Web Browser (192.168.10.1 / myrepeater.net)
This is the clearest and most reliable way to do a WIRELESS‑N repeater setup, because you see every screen and can correct mistakes on the spot.
Step 1: Plug In and Wait for LEDs
- Plug the Wireless‑N repeater into a wall outlet near your main router.
- Wait 30–60 seconds until the Power/WiFi LEDs turn solid or start blinking slowly—that means it has booted.
Step 2: Connect to the Repeater’s Default WiFi
On your phone or laptop:
- Open WiFi settings.
- Look for a network like “Wireless‑N”, “WiFi‑Repeater”, “Wireless-N-Repeater” or similar (check the label if needed).
- Connect to it.
- It may show “No internet” – that’s fine, you’re just talking to the repeater locally.
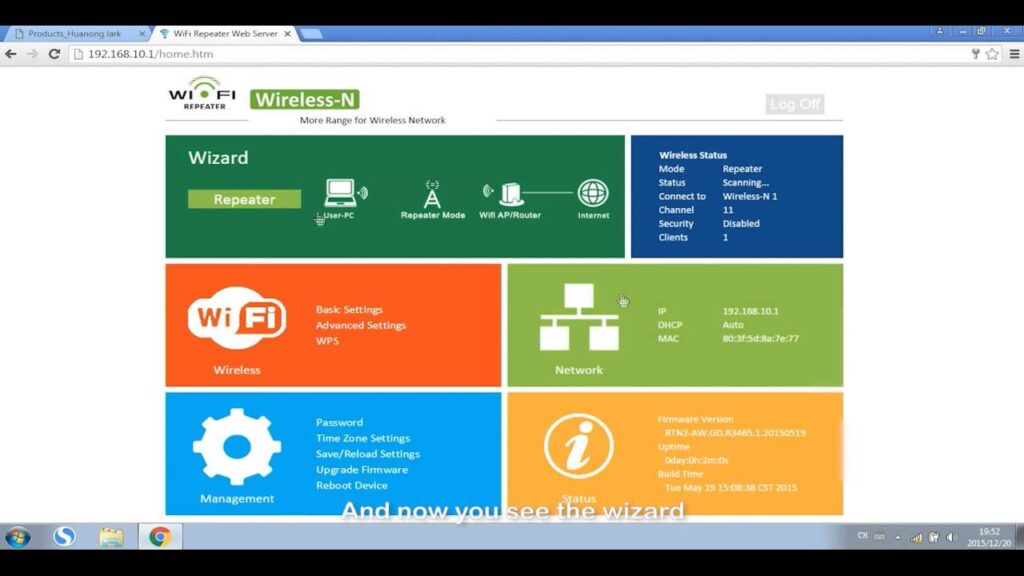
Step 3: Open the Wireless‑N Repeater Setup Page
- Open a browser (Chrome, Edge, Safari, Firefox).
- In the address bar, type 192.168.10.1 and press Enter.
- If nothing loads, try http://myrepeater.net instead.
- You should now see a login popup or a simple login page.
Step 4: Log In With Default Credentials
For most Wireless‑N repeaters:
Click OK / Login to reach the admin dashboard or Setup Wizard.
Step 5: Start the Setup Wizard
- On the left menu or main page, click “Setup Wizard” or just “Wizard”.
- Choose “Wireless Repeater Mode” (sometimes just “Repeater Mode”).
- Click Next.
Step 6: Scan and Select Your Main WiFi Network
- The repeater will scan for nearby WiFi networks (10–20 seconds).
- Pick your router’s WiFi name (SSID) from the list – not the repeater’s SSID.
If you don’t see it, you’re either too far from the router or the router is on a hidden SSID/channel the repeater can’t see.
Step 7: Enter Your Router’s WiFi Password
- In the password field, type the exact WiFi password of your main router (the one you use on your phone).
- Double‑check spelling, capital letters, and any special characters.
- A single mistake here is the most common cause of “connected but no internet” later.
Step 8: Confirm Extended Network Name
- Many Wireless‑N repeater setups let you set an extended SSID (e.g.,
YourWiFi_EXT). - You can:
Click Apply / Save / Next.
Step 9: Wait for Reboot and Reconnect
- The repeater applies settings and reboots – give it 60–90 seconds.
- Its LEDs will flicker, then settle when the connection to your router is up.
- Now, in your WiFi list, you should see the new extended network.
Step 10: Move the Repeater to a Better Location
- Unplug it and move it to a spot midway between your router and the dead zone, still within strong signal of the router.
- Plug back in and wait 1–2 minutes for it to reconnect.
You’ve now completed the Wireless‑N repeater setup. Connect devices to the new SSID and test internet access.
WIRELESS‑N Repeater Setup Using WPS (If Your Router Supports It)
Some Wireless‑N repeaters have a WPS button, and so do many routers. This method is quick but less transparent.
WPS Setup Steps
- Plug the repeater near your router and wait for power/WiFi LEDs to stabilize.
- Press the WPS button on your router for 1–2 seconds.
- Within about 2 minutes, press the WPS button on the repeater (often labeled WPS or with two arrows).
- The LEDs will blink as they negotiate. When done, the WiFi/Signal LED on the repeater should go solid.
- Move the repeater to the midpoint location and test.
If WPS fails repeatedly, don’t waste time – switch back to the web setup method.
Default WIRELESS‑N Repeater Settings (Quick Reference)
| Setting Type | Default Value |
|---|---|
| Login URL | 192.168.10.1 or http://myrepeater.net |
| Username | admin |
| Password | admin or password (lowercase, case‑sensitive) |
| Mode | Repeater / AP (select in wizard) |
Common Wireless‑N Repeater Setup Problems & Fixes
Problem 1: 192.168.10.1 or myrepeater.net Won’t Open
Why it happens:
- You’re still connected to your router’s WiFi, not the repeater.
- Browser is trying to search instead of open a local page.
Fix:
- Connect specifically to the repeater’s SSID (“Wireless‑N”, “WiFi‑Repeater”, etc.).
- Type
192.168.10.1directly into the address bar, not the search box. - If that fails, try another browser or
http://myrepeater.net.
Problem 2: Connected to Repeater, But No Internet
Why it happens:
- Wrong WiFi password entered during setup (super common).
- Repeater too far from router, so it keeps losing the upstream signal.
Fix:
- Reset and reconfigure:
- Move repeater closer to router until it has a strong, stable signal.
- Power cycle both router and repeater (router first, then repeater).
Problem 3: Can’t Log In – admin/admin Doesn’t Work
Why it happens:
Fix:
- Try Username: admin / Password: password (lowercase).
- If still locked out, factory reset (hold reset 8–10 seconds) and then use admin/admin or admin/password again.
Problem 4: Repeater Shows WiFi, But Devices Won’t Join
Why it happens:
- SSID or encryption mismatch with certain older devices.
- You set a different security mode or a very unusual password character set.
Fix:
- Log back into 192.168.10.1 → Wireless settings.
- Ensure encryption is WPA2‑PSK/AES and password is 8–63 standard characters.
- Avoid emojis or exotic symbols in the WiFi key.
FAQ’s
You use it (or myrepeater.net) when you need to configure or change settings. For daily use, you just connect devices to the extended WiFi—no need to visit the admin page each time.
Yes. Most models have an AP Mode: connect via Ethernet to your router, log into 192.168.10.1, and choose AP mode in the wizard.
It doesn’t have to, but adding _EXT or similar makes it easier to see which network you’re on. Using the same SSID can make roaming smoother but more confusing to troubleshoot.
Wireless‑N (2.4 GHz, typically 300 Mbps) is older, but still fine for basic browsing, IoT, and light streaming. Just don’t expect gigabit speeds—it’s more about filling dead zones than boosting raw bandwidth.