
In this article, we will learn about How to login Victure WI-FI extender setup. It assists to boost the signals throughout your area. It has high speed and stable signals which gives with dual extender antennas and a data imparting rate which is up to 300Mbps. 2.4 GHz 3000Mbps, WPS, with Ethernet port AP mode provide the stable network. It assists to expand Wi-Fi range coverage and provides a strong and valid Wi-Fi signal to keep away from buffering while you are working online. You can enjoy HD streaming, gaming, surfing, and broadcasting. Here are some steps to login Victure Wi-Fi extender.
Setup for Victure Wi-Fi Extender login via web domain
Follow the below steps to setup of Victure Wi-Fi extender via web domain:
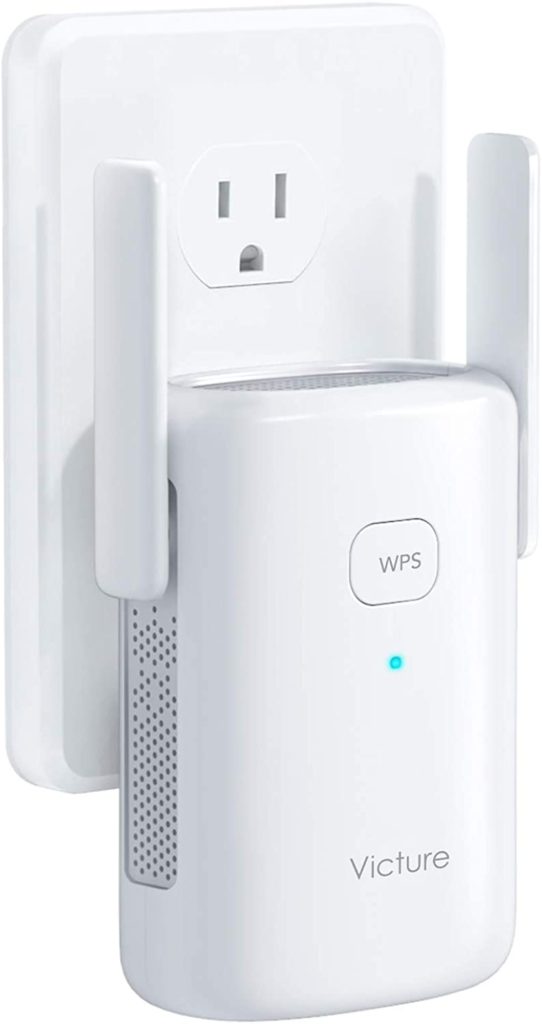
- In the initial step, you need to plug in your Victure Wi-Fi extender into a wall socket.
- Now, hold on for 40 seconds till LED lit up.
- Once you see then connect your device with your Wireless network.
- The SSID named WIRELESS-XXXX by mobile and password will be null.
- When your device gets connected then open any web browser on your device.
- And, enter in the address bar http://wireless.repeater or 192.168.10.1 and click enter.
- Then, you will see the login page.
- After that, enter the username and password as admin and click enter.
- Here setup page will appear.
- You have to select the language and clicks enter.
- Go to the setting page and select your home Wi-Fi router and enter the password and click NEXT.
- In the end, click on the button on the bottom to finish the setup.
- When it is done then the Victure repeater will restart.
- Victure extender setup is successfully done.
The Difference of Extender Mode and AP Mode
Extender Mode (Wireless Connection)
You can choose use Mobile phone or PC to set up via the set up page.
AP Mode (Wired Connection)
You have to use mobile phone or PC to set up via the set up page. (Ethernet cable is required)
- Extender Mode-
If you choose the Extender Mode, then setup as follow
- Firstly, click the “Wireless Scanners” at the upper right corner.
- After that, choose a primary network and then enter the password of your primary network password.
- Then, Set the SSID and Password for the extended wireless network.
- (SSID is the name of Wi-Fi. It must within 23 words.)
- You could select “The extended wireless network name and password are consistent with the primary network”
- If you select this, then the extended wireless network SSID is XXXX-2.4G-EXT or XXXX-5G-EXT and the password is the password of primary router one. (XXX is the name of primary router)
- And you have to choose “Modify wireless network extension and password.”, and then set the new the extended wireless network SSID and password below in this set up page. Next, click ”Save’
- You have to wait for some time, until the indicator light turns green orange.
- If green is great. If orange, please place the Wi-Fi extender and router closer.
Join the extended Wi-Fi XXXXXX-2.4-EXT or XXXXXX-5G -EXT
AP Mode (If you choose the AP mode, then set up as follow)
- Firstly, Click the ”AP mode switch” and then click “Next”
- After that, Set the extended wireless network name and password
- Now, Use an Ethernet cable to connect the Wi-Fi extender
- Then, you have wait for few minutes until the indicator light turns green or orange.
(If green, is great.) If orange, please place the Wi-Fi extender and router nearer.)
Join the extended Wi-FI with new password.